©TransmediaFox 2021. All Rights Reserved.
©TransmediaFox 2021. All Rights Reserved.
Welcome! We’re excited to be starting this new path with you.
Welcome! We’re excited to be starting this new path with you.
Welcome to TransMedia Fox hosting services. We’re excited to be apart of your company and are looking forward to being a valuable partner that saves you effort, time, and revenue.
Your usernames, temporary passwords, and manual settings will have been sent in a separate email. If you haven’t received it check your SPAM folders. If it is there add info@transmediafox.io to your allow list so you’ll receive any important information. We don’t SPAM your accounts. If you don’t see it there, let us know and we’ll resend it for you.
Mobile Instructions are below. Look for Desktop and troubleshooting help on our other pages. Reach out for any issues that may still persist after reading the most common troubleshooting issues. Our published help pages cover the most common email clients. If your chosen client isn't shown let us know, and we'll send over specific directions for your client.
Welcome! We’re excited to be starting this new path with you.
Setting up your new account is fast and simple. Actually, if you use one of the following email clients they do the work for you. You just need to create a new account and add your username and temporary password.
Mozilla Thunderbird®, KDE Kmail, Mail for Windows® 10, Microsoft Outlook 2010® for Windows®, and Microsoft Outlook 2007® for Windows®.
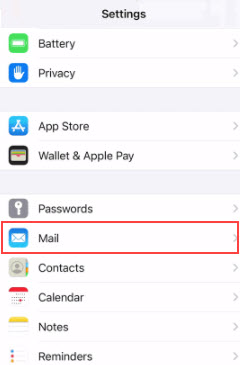
If you are using iOS for iPhone/iPad/iPod and MacOS® Mail.app® or Windows Live Mail® you will need to add the details in manually. Also, if the automatic updates fails on any of the others, you can add the details manually also. No matter your email client, remember to change your password after your first login.
Manual Configurations are simple. They just require a few more steps:
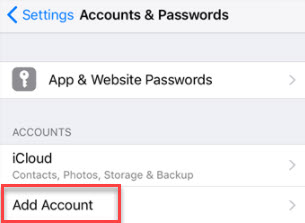

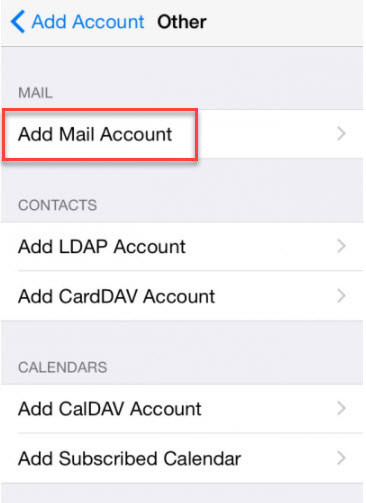
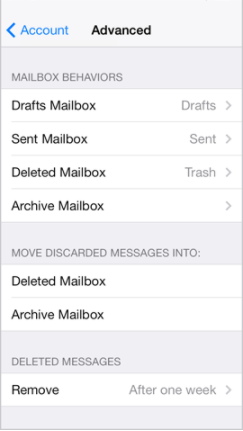
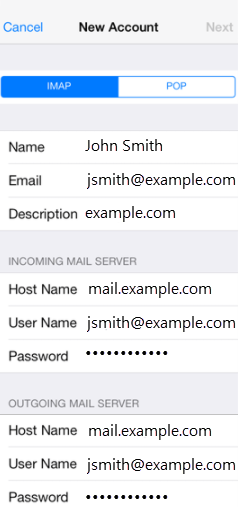
Refer to the Email Client Settings below, and based on your preferences, enter the respective hostnames, port numbers, and encryption methods for the Incoming Mail and Outgoing Mail servers.
| Email Client Settings | ||
| Outgoing Server SMTP | mail.domainname.com | |
| Incoming Server IMAP | mail.domainname.com | |
| Incoming Server POP | mail.domainname.com | |
The server that lets you receive email is called an incoming, POP, or just Mail server. Please follow the configuration below:
This server that lets you send email is called an outgoing, or SMTP mail server. Please follow the configuration below:
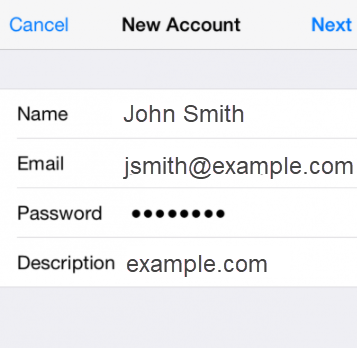
Once you're done, click Next on the upper left corner.
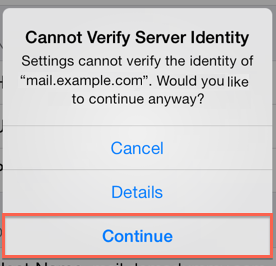
This error message occurs because the certificate is for Bluehost instead of your domain. Click continue to accept the certificate.
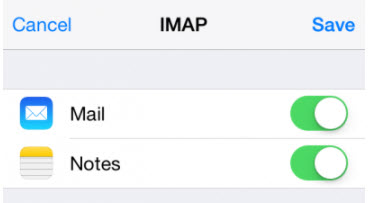
The final screen will ask if you want to mail and notes turned on for this account. Leave them both on and tap Save.